Wednesday, 2 October 2013

Tutorial 7: Non-destructive burning and dodging

In the past when I have used the burning and dodging tools in Photoshop, there are some aspects and changes I initially made first, and though the History browser allows you to return a few actions, there is a limit to how far back all actions can be traced, leaving me to have to clear the entire history of work and begin from scratch.

Using a blended layer, I can burn and dodge sections of images and undo sections I decided I don’t want to have the effect. And if I want to start all over again, it is as simple as deleting the layer.

The image I want to adjust:


After opening the image in Photoshop, I then create a new layer by selecting ‘New’ and then select ‘Layer…’ this then opens up a small window. You have the option of entering a name that would label the layer, which comes in handy when working with multiple layers in Photoshop.
I’m only working with one layer for this adjustment,
so I leave the layer as ‘Layer 1.’

The next thing I alter in the settings is the ‘Mode,’ I changed the mode from ’Normal’ to ‘Overlay’ which then gives me the option the tick the box below (Fill with overlay). And by clicking ‘OK’ creates a new layer, the overlay blending mode gives the image a slight boost of contrast and by selecting the ticked box in the layer options, makes all pixels containing 50% grey transparent.

The next part is to burn and dodge the sections that need adjustments, this is done using the brush tool.
 I select the ‘Brush tool’ found along the toolbar (or press ‘B’) and Make sure the foreground colour is set to white, the white acts as a dodge tool in this case.
-Before beginning to dodge sections, I make sure I also have the ‘Opacity’ percentage found in the toolbar options above set to a small number, 10% is my setting. This creates a gradual dodge effect and allows me to build up the dodge effect instead of simply making estimations.

Once I’ve dodged all the sections, I then change the foreground colour of the brush to black by selecting the double arrow icon, this then switches the brush effect to a burn tool.
I then apply the brush to the sections that need to be burned and if there are sections that I want to erase the adjustment. I select the foreground colour and type 128 in the Red, Green and Blue dial boxes that then make the colour a grey of 50% value. When applying this to the image, it acts as an eraser tool, returning that section of the image back to the original layer.

Once I am happy with both the burned and dodged sections, all that is left is to merge the layer to the backdrop to create a single image by selecting ‘Flatten image’ under Layers on the top menu bar (or hold ‘command’ ‘E’).

And the final result:
(Before)


(After)
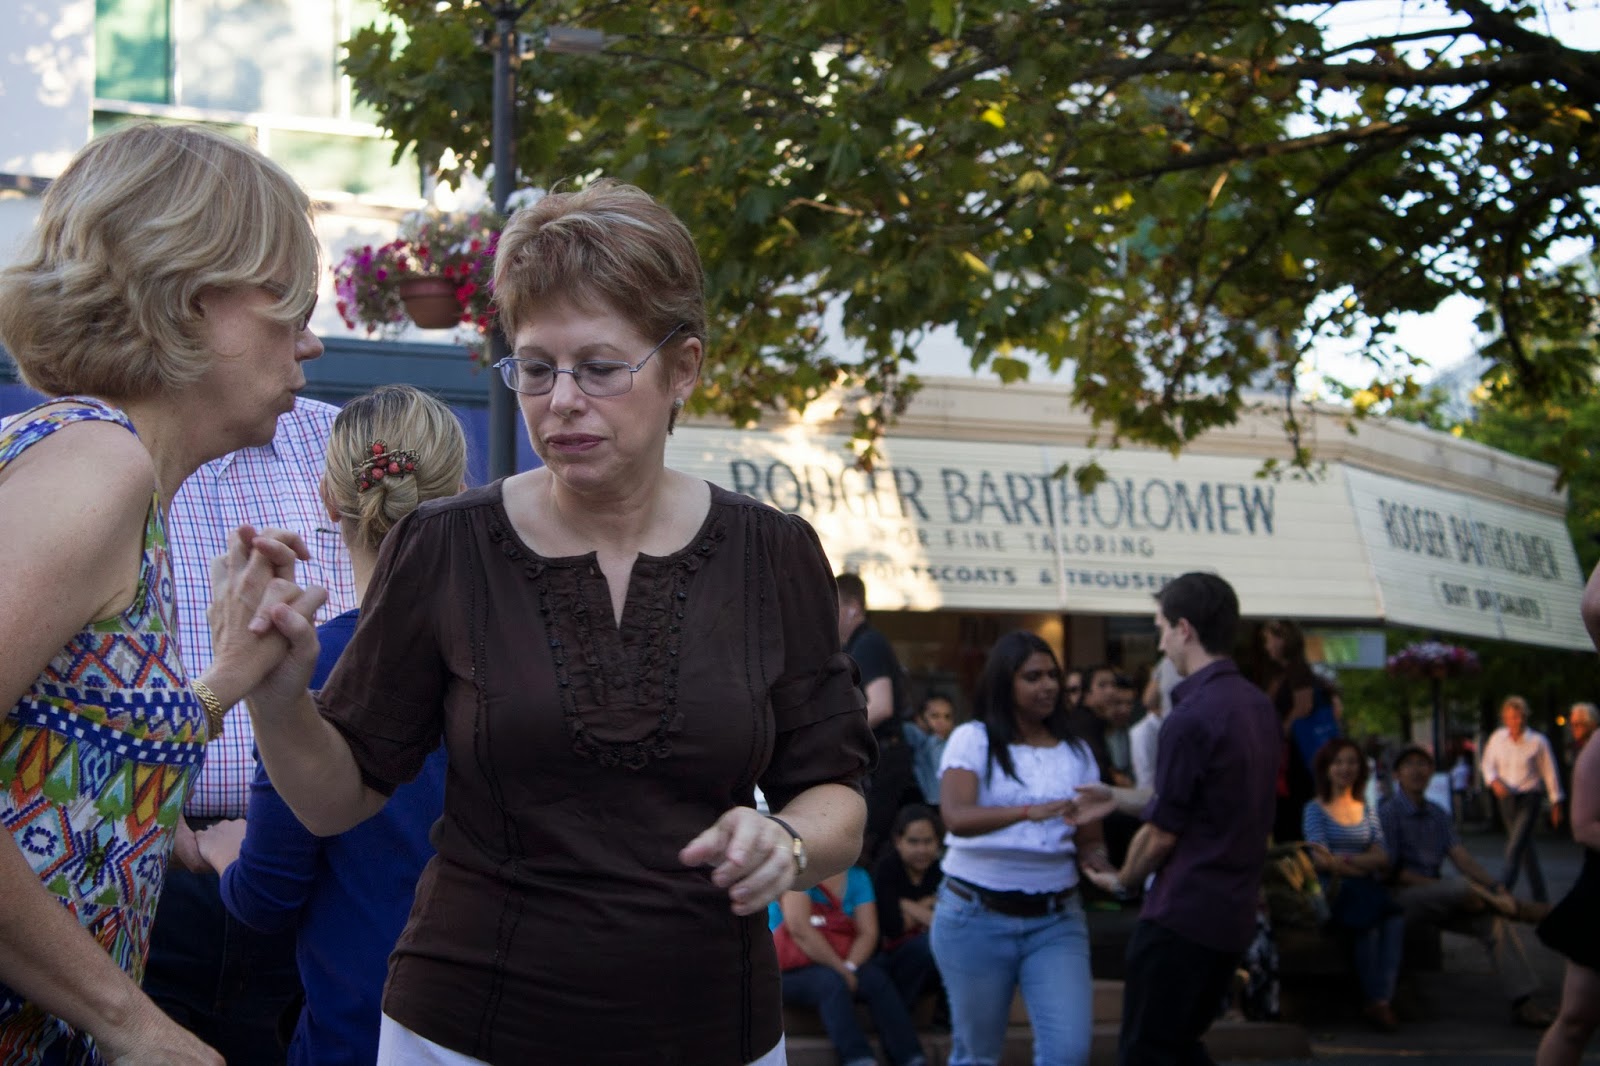


-There isn’t a large difference in the images, though the after image there is a better effect with the main subject being lit with the dodge effect.


All Content © 2013 . Not to be duplicated or redistributed without permission. Photoshop is a trademark of Adobe Systems Inc.

Tutorial 6: Creating Panorama easily with Photomerge

Shooting for creating a panorama is a simple process that involves using a tripod, and to have your camera set to manual mode with the ISO, aperture and shutter speed at one single, and constant setting.
Next I capture the span of one long scene by simply capturing an image and swiveling the tripod head slightly before capturing the following.
*For panoramas, this isn’t a strict method, the images could be captured in any way, following those guides. The method is recommended to have to most accurate result when applying it in Photomerge.

Images I am merging:


-When loading the images, it is best to have the images named and/or follow a sequence, as it will be easier to relocate and select on Photoshop.

First thing I do in Photoshop is select ‘Automate,’ found under ‘File’ on the menu bar. Next I select ‘Photomerge…’ and a window the opens up.

Under ‘Layout’ in the window, I chose to use ‘Auto’ as it allows Photoshop calculate the most accurate positioning, and gives best, over-all accuracy. Under ‘Source Files’ selecting ‘Browse..’, I locate all the images I wish to have in my panorama.

After sourcing my images, below are options to apply while Photoshop forms the panorama, ‘Blend Images Together’ as already ticked, as this tells Photoshop to blend colour and tone while positioning the images. ‘Vignette Removal’ eliminates possible vignetting that may have occurred within the individual images, to blend any dark edges.
‘Geometric Distortion Correction’ is used when distortions are created from an extremely wide lens within the individual images.
In my case, I do not have any wide-angle or vignetting distortions in my images, so I simply leave that section and click ‘OK’ to apply the panorama.

Photoshop then takes a few moments to calculate, and a single, long image then appears with oddly shaped edges, this is due to Photoshop linking the images as the scene ends in one image and begins in the next image, Photoshop may only use a small wedge of an image to continue the panorama, this is simply based on calculating a panned scene.

As my panorama image has bazaar edges, the individual images appear as layers in the layers palette as their separate puzzle pieces. And beside the clipped layers, layer masks have been applied to all layers, this is handy as this allows further editing if required.

-Photoshop may not be always accurate, especially in cases of the images taken with different colours and/or not more accurately lined up when capturing the images, etc.
The as the images appear as layers, this allows them to be moved if needed, for better lining. The layer masks are handy as well, for blending, hiding and/or revealing sections, using the white and black tones with the ‘Brush Tool’ found along the toolbar (or press ‘B’).

Once I am happy with my image, if any adjustments were required (in my case there wasn’t), the next step is to crop out the bazar edges using the ‘Crop Tool’ found along the toolbar (or press ‘C’) and the final result is the panorama.

The last step is to make my panorama one single image, is to merge the layers by selecting “Flatten Image’ found under ‘Layers’ on the menu bar (or press ‘Command’ ‘E’).

The end result, a panorama!
The very last adjustment I did make to my final image was the levels, as the colours appeared off to me and to add a little contrast to the blossom tree.

My final Panorama:


*Even though this method of Photoshop, automatically calculating the image. There are methods of manually creating the panorama, this is achieved by creating a new Photoshop blank document. With a long canvas created from the document, opening each image in Photoshop and creating layers on the new document and manually position each section. Creating layer masks for each layer so that sections can be hidden. The only difference of the Photomerge method is that Photoshop has automatically completed those steps for you, making the task less time-consuming.

-There are some advantages to manually creating the panorama, as you have full control over every decision, which works to be beneficial for some individual who are skillful in Photoshop.

Sources:
-http://www.photoshopessentials.com/photo-effects/panorama/ All Content © 2013 . Not to be duplicated or redistributed without permission. Photoshop is a trademark of Adobe Systems Inc.

Tutorial 5: Refining edges with selection

I would like to place a portrait of my Sister onto a background, but I don't want to simply cut and paste, I want to blend my subject onto the background, and this is where ‘refine edge’ helps to create that effect.


First I start by opening both images in Photoshop, and as the tropical image is going to be the background of the final image, I will need to bring the portrait across to the background document as a new layer. Using the ‘Rectangular Marquee Tool’ found along the toolbar (or press ‘L’), I trace around the border of the portrait image. A moving outline appears around the border meaning the image has been selected.
Next I then select the ‘Move’ tool along the toolbar (or press ‘V’) and I drag the selection to the tropical image document.
My portrait is then added as a new layer atop the background image. I then move the image to where I wish to place the subject within the background.

As I only want my sister in the tropical background and not the grey backdrop behind her, I need to isolate her from the backdrop using one of the selection tools.
To create an accurate trace of the subject without the worry of unsteady tracing, the polygon lasso tool, found in the toolbar (or press ‘L’) allows you to trace from linking lines as the outline. To create a more accurate effect to bring out edge definition in the end result, its best to keep the outline within the subject’s inner edge, so that the edge can be recovered.

Once my subject is outlined, including the area at the edge the image, a selection border appears to show the isolated object. Next I select ‘Refine Edge…’ found along the Polygon lasso toolbar options at the top, this then opens up a window.
Under ‘View mode’ there is a small image of the selection and by clicking on the small image, I can view the image in different ways, as it gives different options to show the selection. I chose the ‘on layers’ option so I can view the subject against the background.

The image currently looks like a cutout, as there are only straight edges viewed of the subject. Under edge detection in the window, the ‘Radius’ dial is used to recover more detail in the outer radius of the selection.  As I drag the dial slightly to the right, this then extends the edge further outward from the outline.

The refine edge effect in Photoshop makes calculations based on the pixel colour values defined along the outline and Photoshop attempts to bring out edge detail in the subject without including the original backdrop. As the radius value is only set as an over all radius value, there is an option that allows you to manually extend the radius, by side clicking on the paintbrush image beside ‘edge detection’ and select ‘Refine radius tool’ give you a paint brush where you can trace the outer edge by dragging the paintbrush. Once you release the clicker, Photoshop then calculates the refine edge.

Once I am happy with as much detail on the edges, my next step is to fix the edge, as it isn’t entirely natural. Under ‘adjust edge’ there are options the manipulate the blend of the edge; ‘Smooth’ adds a blur effect to the edge, ‘feather’ well creates a feathered edge, “contrast’ creates a stronger edge which in this case is not entirely effective. For my image, I used ‘shift edge’ which softly blends the image, with value set to 20%, created a nice, soft effect.
In the case of most images that need to be isolated from the original backdrop, even though there is refined edge, there are still remnants of the original background colour. By selecting the box ‘Decontaminate Colors’ and setting the amount that I want, in this case I have set the amount to 70%, diminishes the colour.

Before clicking ‘OK’ I make sure the Output is set to ‘New layer with layer mask,’ so that when I click OK a new layer is made from the selection and refine edge and a layer mask is also set beside the layer. The original layer is automatically hidden, with the eye icon unselected’, as the layer is not needed anymore.

The mask layer allows you to make further adjustments by using the paintbrush found along the toolbar (or press ‘B’), whether the paintbrush is set to white or black allows you to reveal or hide more of the edge.

As I am happy with my end result, I don’t make any more alterations with the layer mask. The very last adjustment I make to my image is using the blur tool found along the toolbar, to take away detail in the rock beside my subject, as it is in focus. By slightly blurring the rock, it separates the subject from the background and creates a sense of depth in the image.
  
And my end result:


Sources:
Tutorial: http://www.photoshopessentials.com/photo-editing/selecting-hair/ All Content © 2013 . Not to be duplicated or redistributed without permission. Photoshop is a trademark of Adobe Systems Inc.


Tutorial 4: Surreal Motion using smart objects

I have an image that I want to add a sense of motion to, and by using smart objects I can use motion blur to create a god effect.


First thing I do is open the image in Photoshop and then convert the image to a smart object by opening the layers option in the menu bar and selecting ‘Smart objects’ and ‘Convert To Smart Object.’ The image doesn’t appear any different accept the background image in the layers palate is now labeled as ‘layer 0’ and the layer image has a small mask object featured in the corner.

-The smart object allows you to add filter in a non-destructive way, by being able to re-adjust any filter effects, the smart object also automatically creates a mask for the layer, which comes in handy as well.

After the smart object has been applied, to create the effect of motion, I need to use a motion blur filter which is found in Filters under the menu bar and then select ‘motion blur’ from the blur option.

A window then appears which gives you the distance of blur streaks in pixels and the angle to which the streaks face. As the direction of the leading lines in my image forms a curve off in a direction, I adjusted the angle to 77° and the distance set to 115 pixels. Once I have clicked ‘OK’ the image is then completely blurry, which is not entirely the effect I want.
As I only want to create a small amount of motion effect I need to take away a portion of the filter, this is where the mask object applied in the smart object comes in handy.

As I want the sky to be clear without the effect and create a nice transition from the clear sky to the blurred motion, I need to apply a gradient using the gradient tool found along the toolbar (or by pressing ‘G’). Before I select the gradient tool I need to have the mask selected, which is the white rectangle below the layer.

After selecting the gradient tool, make sure the gradient tool in the top toolbar is set to ‘black, white’ as this will create the transition effect. Next I pick a point where I want the transition to begin; I first select slightly above the center of the image and drag the mouse while holding down the clicker to the bottom of the image. I have the line directed slightly to the right, as I want the transition to follow the edge of the horizon created by the road.
This then separates the blur motion of the road, to the clear sky with a blended transition.

If I want to make any further adjustments to the blur effect, I can always side-click the tabs symbol beside ‘Motion blur’ under the layer on the right panel and select ‘edit smart filter’ and/or even adjust the opacity in the option above.
-What I have done is lower the opacity to 90% to bring back a small amount of detail from the original image.

The very last thing I will need to do before I am finished with my blurred effect is slightly crop the image using the crop tool along the toolbar (or press ‘C’). The blur motion creates a slight distortion at the very bottom of the image that I would like to erase. To keep the same proportions of my image, in the top toolbar options, I need to change the setting ‘Unconstrained’ to ‘Original ratio.’
Once I have cropped a very small amount of the image, I drag the image so that the cropping border fits within the image and then press enter to apply the crop.

At last when I am happy with the effect, I then flatten the layer to form the background image again, this is done by then selecting ‘flatten image’ in the menu bar under Layers.

 The end result of my blur motion image:

Source:


All Content © 2013 . Not to be duplicated or redistributed without permission. Photoshop is a trademark of Adobe Systems Inc.