In the past when I have used the burning
and dodging tools in Photoshop, there are some aspects and changes I initially
made first, and though the History browser allows you to return a few actions,
there is a limit to how far back all actions can be traced, leaving me to have
to clear the entire history of work and begin from scratch.
Using a blended layer, I can burn and dodge
sections of images and undo sections I decided I don’t want to have the effect.
And if I want to start all over again, it is as simple as deleting the layer.
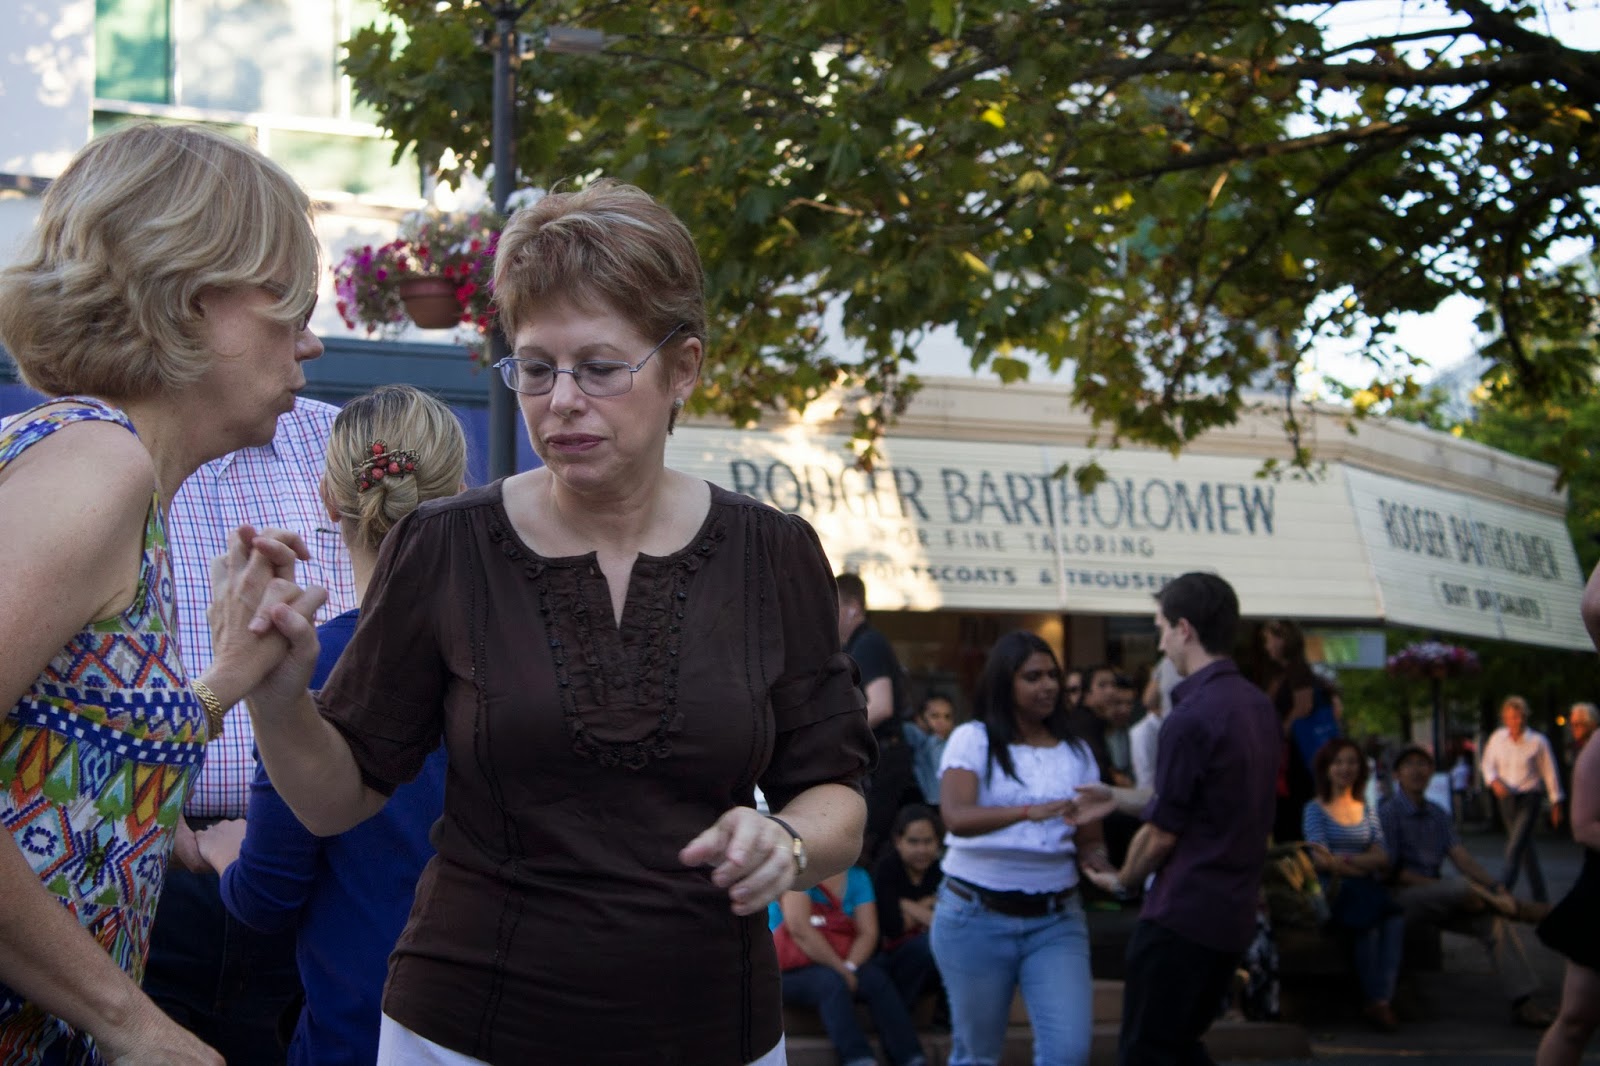
The image I want to adjust:
After opening the image in Photoshop, I
then create a new layer by selecting ‘New’ and then select ‘Layer…’ this then
opens up a small window. You have the option of entering a name that would
label the layer, which comes in handy when working with multiple layers in
Photoshop.
I’m only working with one layer for this
adjustment,
so I leave the layer as ‘Layer 1.’
The next thing I alter in the settings is
the ‘Mode,’ I changed the mode from ’Normal’ to ‘Overlay’ which then gives me
the option the tick the box below (Fill with overlay). And by clicking ‘OK’
creates a new layer, the overlay blending mode gives the image a slight boost
of contrast and by selecting the ticked box in the layer options, makes all
pixels containing 50% grey transparent.
The next part is to burn and dodge the
sections that need adjustments, this is done using the brush tool.
I
select the ‘Brush tool’ found along the toolbar (or press ‘B’) and Make sure
the foreground colour is set to white, the white acts as a dodge tool in this
case.
-Before beginning to dodge sections, I make
sure I also have the ‘Opacity’ percentage found in the toolbar options above
set to a small number, 10% is my setting. This creates a gradual dodge effect
and allows me to build up the dodge effect instead of simply making
estimations.
Once I’ve dodged all the sections, I then
change the foreground colour of the brush to black by selecting the double
arrow icon, this then switches the brush effect to a burn tool.
I then apply the brush to the sections that
need to be burned and if there are sections that I want to erase the
adjustment. I select the foreground colour and type 128 in the Red, Green and
Blue dial boxes that then make the colour a grey of 50% value. When applying
this to the image, it acts as an eraser tool, returning that section of the
image back to the original layer.
Once I am happy with both the burned and
dodged sections, all that is left is to merge the layer to the backdrop to
create a single image by selecting ‘Flatten image’ under Layers on the top menu
bar (or hold ‘command’ ‘E’).
And the final result:
(Before)
(After)

-There isn’t a large difference in the
images, though the after image there is a better effect with the main subject
being lit with the dodge effect.
All Content © 2013 . Not to be duplicated or
redistributed without permission. Photoshop is a trademark of Adobe Systems
Inc.


